Scheduling and creating posts using Social Poster takes just two simple steps:
- Connecting at least one social media profile
- Adjusting your settings
The following social accounts can be connected to Social Poster:
- Facebook: Business Pages
- X (Twitter): Profiles
- LinkedIn: Personal Profiles & Business Pages
- Instagram: Business Pages
- Google Business Profile
- Pinterest: Profiles
- TikTok: Profiles
The number of profiles you can connect depends on your Semrush plan:
- Social Subscription users can add up to 10 profiles at a time
- Pro users can add up to 10 profiles at a time
- Guru users can add up to 30 profiles at a time
- Business users can add up to 50 profiles at a time
This article will guide you through the tool’s setup and settings adjustments.
Step 1. Connect your social media profiles
Start with connecting a profile by choosing a social media channel and clicking on the ‘Connect’ button.

If you’re logged into a social profile and using Semrush in the same browser, the tool will prompt you to authorize Semrush to use your account. Otherwise, you’ll have to log into the social platform you want to post from and authorize Semrush to use your account after that.
So, how can you authorize Semrush to use each social media platform?
Facebook Page
- Add your profile: select your Facebook Page(s) to post from, and tap on ‘Save’
X (Twitter) profile
- In the popup window click on ‘Authorize app’
- Add your profile: select the profile(s) you want to post from and tap on ‘Save’
Google Business Profile
- Sync your Google Profile with the Social Poster
LinkedIn profile
- In the popup window click on ‘Allow’
- Add your profile: select the profile(s) you want to post from and tap on ‘Save’
Instagram profile
- In the popup window click on ‘Authorize’
- Add your profile: select your profile(s) and tap on ‘Save’
TikTok profile
Log in to your TikTok account using one of the provided options to authorize the connection:

Pinterest profile
Once you connect your Pinterest account, the tool will automatically find your boards so when you create a post you’ll also choose the board to post to in the drop-down menu.
You’ll also have the option of adding a website for your image:

Once you’ve connected a social profile, you can add more directly from the tool’s Calendar tab by clicking on the ‘Add profile’ button on the top left.

Step 2. Adjust your settings
This step is optional and can be completed later — once you connect a profile you are free to start creating and scheduling your posts.
To adjust your settings, go to the ‘Settings’ button at the top right of the tool's interface and click on one of the four options.

‘Profiles’ allow you to:
- Disconnect your social profiles — just click on the trash icon next to a profile
- Allow or disallow shortened links via bit.ly — just move the slider

‘Time settings’ allow you to select:
- Time zone
- Time format — 24hr or 12hr
- First day of the week — Monday or Sunday

‘Notifications’ allow you to configure special alerts.

‘Keyboard shortcuts’ allow you to:
- View the hotkeys to browse the tool faster
- Disable or enable keyboard shortcuts — just move the slider

Now that your tool is fully configured, start creating and scheduling your posts.
You can also share your project straight from the Social Poster tool by clicking the Share button at the top-right, adding an email address, and selecting the viewing permissions.
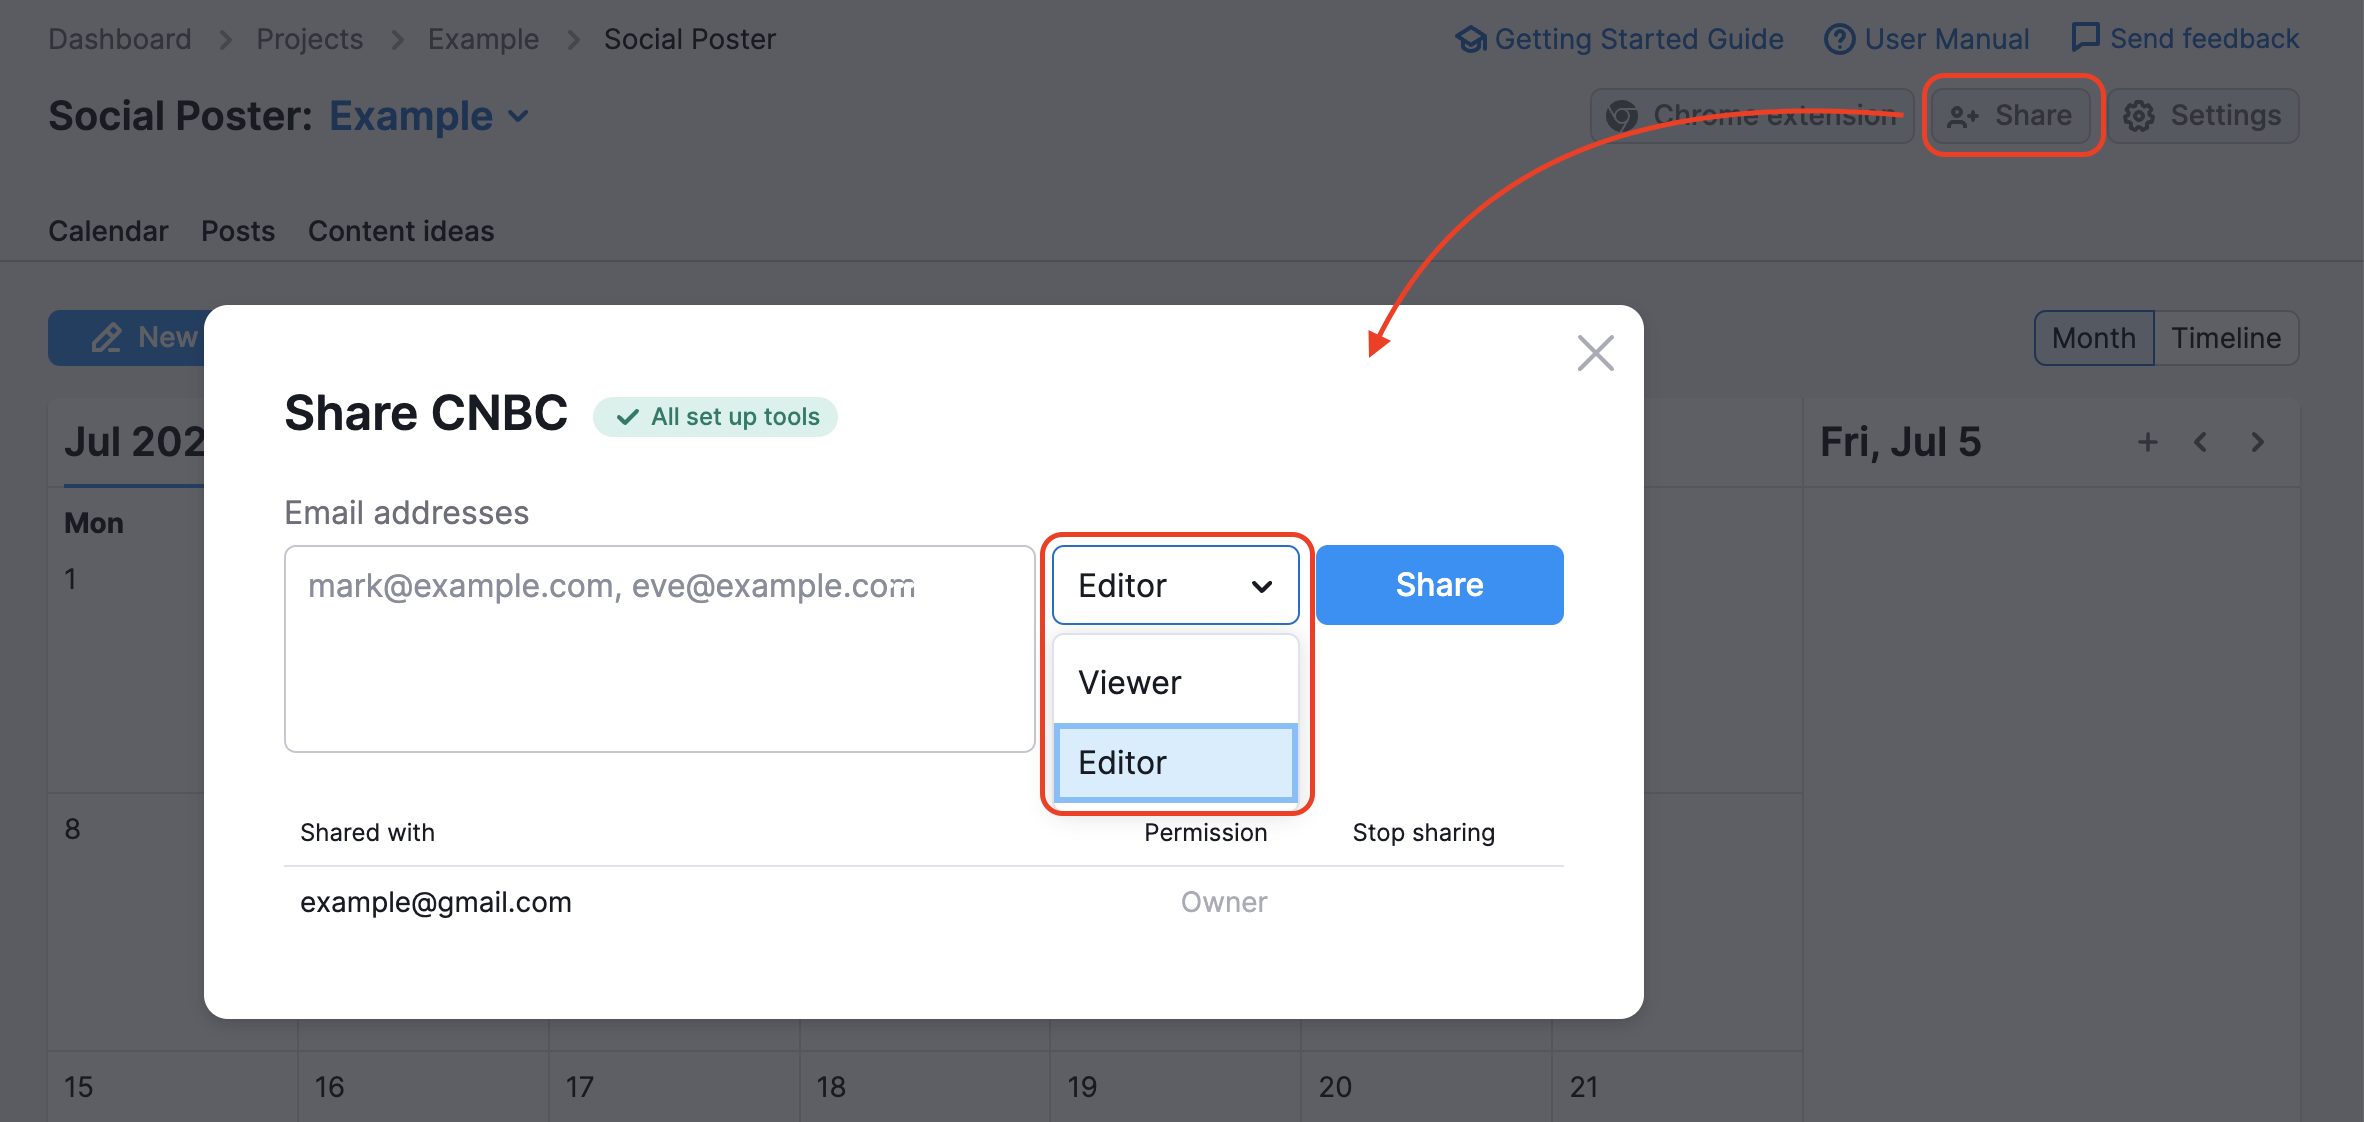
Please kindly note that a person should have Semrush Social purchased in order to view your project with an Editor’s permission. If you share a project with an Editor access to a user without Semrush Social, they will see it as a Viewer and will not be able to make any changes.